Mastering manual settings enhances your outdoor photography by controlling the exposure triangle—aperture, shutter speed, and ISO—to capture natural beauty with precision and creative control, ensuring stunning results in any lighting conditions.
Understanding the Exposure Triangle
The exposure triangle is the foundation of manual photography, comprising aperture, shutter speed, and ISO. Aperture regulates light entry through the lens, controlling depth of field. Shutter speed determines motion capture, freezing or blurring subjects. ISO adjusts sensor sensitivity, balancing light and noise. Together, these elements create a balanced exposure, essential for outdoor photography. Mastering their interplay allows precise control over lighting and composition, ensuring vibrant, sharp images in various conditions. Balancing these settings is key to achieving the desired visual effect, whether capturing landscapes, portraits, or wildlife. Understanding the exposure triangle is the first step in unlocking creative potential in manual mode photography.
Aperture (f-stop) Settings
Aperture (f-stop) controls light entry and depth of field. For outdoor photography, use wide apertures (f/2.8–f/5.6) for portraits and narrower apertures (f/11–f/16) for landscapes to maximize sharpness and detail.
Controlling Depth of Field
Aperture (f-stop) is crucial for controlling depth of field in outdoor photography. A wide aperture (low f-stop like f/2.8) creates a shallow depth of field, blurring backgrounds to emphasize subjects, making it ideal for portraits. In contrast, narrow apertures (high f-stop like f/11 or f/16) ensure more of the image remains sharp, which is perfect for capturing detailed landscapes. By adjusting the aperture, photographers can isolate subjects or highlight intricate details in the environment, thereby enhancing the overall composition and visual impact of their photos. This control is essential for achieving the desired aesthetic effects in various outdoor photography scenarios.
Best Aperture Ranges for Outdoor Photography
For outdoor photography, the optimal aperture range varies based on the subject. Portraits benefit from wide apertures (f/2.8–f/5.6) to blur the background and isolate the subject. Landscapes often require narrower apertures (f/8–f/16) to ensure sharpness across the entire frame. A medium range (f/4–f/8) works well for balanced depth of field. Using these ranges helps achieve the desired focus and detail in your photos, ensuring versatility and professional-quality results in diverse outdoor conditions.
Shutter Speed Settings
Adjust shutter speed to freeze or blur motion. Use fast speeds (1/1000s) for sharp action shots or slower speeds (1/30s) for creative motion effects like flowing water.
Freezing Motion with Fast Shutter Speeds
Fast shutter speeds are ideal for capturing sharp, motion-free images of moving subjects, such as wildlife or athletes. Use speeds of 1/500th of a second or faster to freeze action completely. In bright outdoor conditions, speeds like 1/1000s or 1/8000s ensure crisp results. For example, when photographing birds in flight or flowing water, a fast shutter speed preserves detail and clarity. However, be mindful of light levels; extremely fast speeds may underexpose images in low-light scenarios. Pairing fast shutter speeds with a wide aperture (like f/2.8) and low ISO (100-400) ensures well-lit, sharp photos. This technique is essential for outdoor photography, where dynamic moments unfold quickly, and precision is key to capturing them perfectly.
Creating Motion Blur with Slower Shutter Speeds
Slower shutter speeds are perfect for creating artistic motion blur, adding dynamism to outdoor photos. Use speeds between 1/3 to 2/3 of a second to blur moving elements like waterfalls or clouds, emphasizing movement and creating a sense of flow. For example, a slower speed captures the silky texture of flowing water while keeping stationary objects sharp. To achieve this, a tripod is essential to avoid camera shake. Experiment with speeds to find the ideal balance between blur and detail. Pair slower speeds with a narrower aperture (f/8-f/16) and low ISO (100-400) to maintain proper exposure. This technique adds emotional depth and creativity to your outdoor photography, making scenes feel alive and engaging.
ISO Settings
Optimize ISO for outdoor photography by using lower values (100-400) in daylight to minimize noise and ensure sharp, detailed images. In low-light conditions, higher ISOs balance brightness and noise, preserving image quality while capturing the scene effectively.
Optimizing ISO for Daylight Conditions
When shooting outdoors in daylight, ISO settings should be kept low to minimize noise and ensure crisp images. A lower ISO (typically between 100-400) is ideal for bright conditions, as it prevents overexposure and maintains detail in highlights. This is especially important for landscapes and nature photography, where preserving texture and color accuracy is crucial. Additionally, using a lower ISO complements wide apertures (like f/2.8-f/5.6), allowing for a blurred background in portraits while keeping the subject sharp. Always adjust ISO according to the lighting to achieve the best results without compromising image quality.
Balancing Brightness and Noise in Low Light
In low-light outdoor photography, finding the right ISO balance is crucial to maintain brightness without introducing excessive noise. Start with an ISO of 400-1600, depending on the scene, to ensure proper illumination while minimizing grain. Avoid pushing ISO too high, as it can degrade image quality. Pair higher ISO settings with a wide aperture (f/2.8-f/5.6) to let more light in and isolate subjects. If possible, use a tripod or stabilize the camera to prevent motion blur. Noise reduction tools in post-processing can help refine results. Experiment with different ISO levels to find the optimal balance for your shot, ensuring vibrant, sharp images even in challenging lighting conditions.
White Balance and Color Accuracy
White balance is essential for achieving natural colors in outdoor photography. It compensates for different light sources, ensuring accurate color representation. Use the Auto mode for versatility, or select presets like Daylight, Cloudy, or Shade to match ambient lighting. For precise control, use the Custom setting by capturing a white reference point in the scene. Adjusting white balance helps eliminate unwanted color casts, such as cool tones in shade or warm tones in sunlight. Fine-tuning in post-processing can further refine color accuracy. Accurate white balance enhances realism and mood, making it a critical element in capturing stunning outdoor images with true-to-life colors and contrast. Experiment with settings to find the perfect balance for your scene.
Focus Modes for Precision
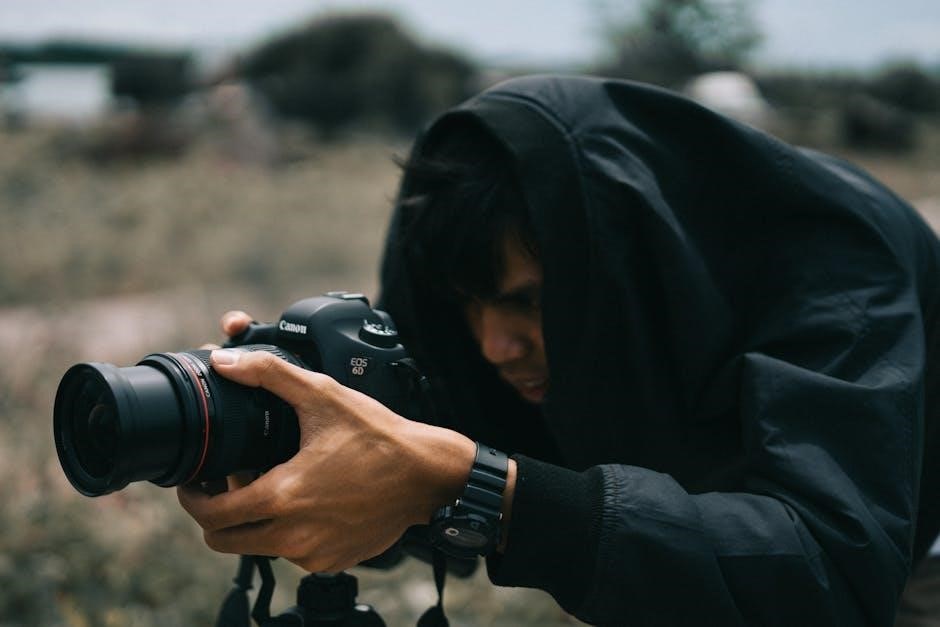
Focus modes are crucial for achieving sharp images in outdoor photography. Use Single Shot AF for stationary subjects, ensuring precise focus with a half-press of the shutter. For moving subjects, like wildlife or athletes, switch to Continuous AF to track motion accurately. Manual Focus offers total control, ideal for landscapes or low-light conditions where autofocus may struggle. Some cameras also feature Back-Button Focus, separating focusing from the shutter release for better control. Experiment with these modes to enhance subject sharpness and ensure your images are tack-sharp, whether capturing dynamic action or serene landscapes. Proper focus mode selection is vital for delivering professional-grade results in outdoor photography.

Using the Camera Histogram
The camera histogram is a powerful tool for ensuring optimal exposure in outdoor photography. It displays the distribution of light and dark tones, helping you avoid overexposed highlights and underexposed shadows. By analyzing the histogram, you can adjust aperture, shutter speed, or ISO to achieve a balanced exposure. Aim for a histogram that covers most of the graph without clipping on either side. For outdoor scenes, a slightly right-skewed histogram often works best, ensuring bright, detailed images. Regularly checking the histogram after each shot allows for precise adjustments, making it an essential part of your manual photography workflow. This tool is especially valuable in challenging lighting conditions, helping you capture the full dynamic range of your subject.
Tips for Shooting in Different Outdoor Scenarios
Adjust settings based on outdoor scenarios; use fast shutter speeds for action, wide apertures for portraits, and lower ISO for bright daylight. Experiment and adapt for optimal results.
Landscapes and Nature Photography
For landscapes, use a narrow aperture (f/11–f/16) to ensure depth of field, keeping everything sharp from foreground to background. Lower ISO (100–400) for daylight to minimize noise. Use a tripod and slower shutter speeds (1/3–2 seconds) to blur water or clouds for a dynamic effect. Shoot during golden hours for warm, vibrant colors. Enable manual focus for precision and adjust white balance to capture natural tones. Utilize the camera histogram to ensure proper exposure, avoiding overexposure in bright conditions. Experiment with RAW format for better post-processing control. These settings help create striking, detailed landscape images that reflect the beauty of nature accurately.
Portraits and Wildlife Photography
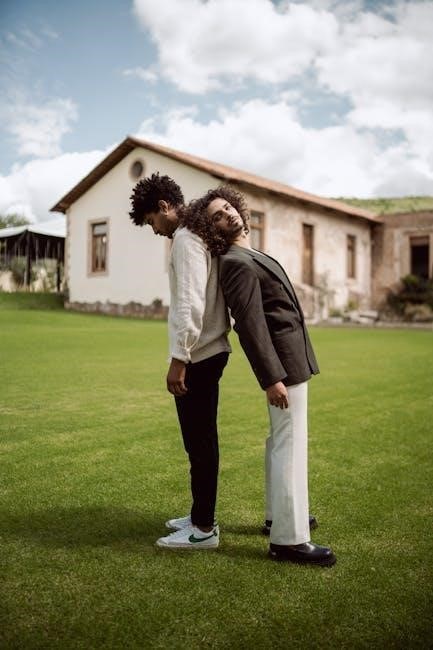
For outdoor portraits, use a wide aperture (f/2.8–f/5.6) to isolate subjects with a blurred background, creating a professional look. In wildlife photography, fast shutter speeds (1/500–1/1000 seconds) freeze motion, capturing sharp images of moving animals. Optimize ISO (100–400 in daylight, higher in low light) to balance brightness and noise. Manual focus ensures precision, while continuous autofocus is ideal for tracking wildlife. Adjust white balance to enhance natural colors. For portraits, position subjects during golden hour for soft, flattering light. In wildlife, anticipate behavior for dynamic compositions. These settings help capture vivid, engaging portraits and wildlife images with clarity and depth.
Mastering manual settings for outdoor photography is a powerful way to unlock creative control and capture stunning images. By understanding and balancing the exposure triangle—aperture, shutter speed, and ISO—you can tailor your shots to suit any lighting conditions and subject. Whether you’re shooting landscapes, portraits, or wildlife, manual mode empowers you to make intentional decisions that elevate your photography. Remember, practice is key to becoming comfortable with these settings. With patience and consistent effort, you’ll refine your skills and consistently produce breathtaking outdoor photographs that reflect your unique vision and style. Keep exploring, experimenting, and pushing your creative boundaries to achieve the best results.
Comments